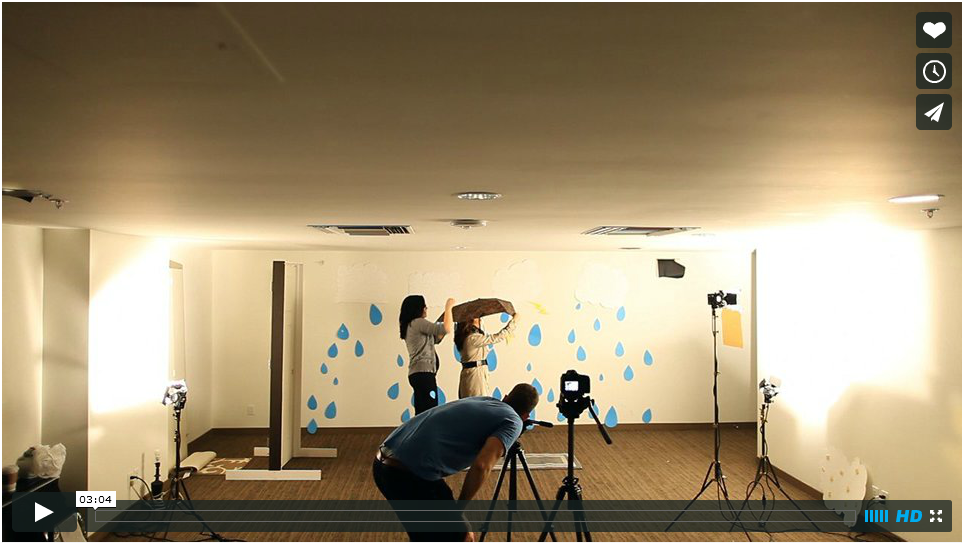
Analyzing Motion Pictures

O B S E RV E
identify and note details.
Sample Questions:
Describe what you see and hear. · What do you notice first? · Do you only see live action, or are there any special effects or animation? · Describe any words you see on the screen. · What do you
notice about the length of the motion picture? ·Does anything about it seem strange or unusual? ·
What other details do you notice?

R E F L E C T
Generate and test hypotheses about the source. What was the purpose of this motion picture? · Who do you think created it? · Who are the people who appear in it? · What tools and materials were used
to create it? · Do you think it was filmed on location, or was there a stage set? · Who do you think was the intended audience? · What feelings or ideas do
you think its creators wanted to communicate? · If someone created this motion picture rofessionally today, what
would be different?

Q U E S T I O N
Ask questions to lead to more observations and reflections.
What do you wonder about...
who? · what? · when? · where? · why? · how?
Speculate about the purpose of the motion picture and what its
creators expected it to accomplish. Do you think the motion picture
achieved their goals? Explain why you think so.